Creating Your Emergency Preparedness Binder: Essential Steps and Free Template

Emergencies can strike without warning, leaving families and individuals scrambling for important information. Having a well-organized emergency preparedness binder can make a critical difference when time is limited and stress is high. This post explains why building such a binder is essential and guides you through the steps to create one. Plus, a free template is available to help you get started quickly.
Why You Need an Emergency Preparedness Binder
Emergencies come in many forms: natural disasters, power outages, medical crises, or unexpected evacuations. In these moments, having quick access to vital information can save time, reduce confusion, and improve safety.
Centralizes important documents: Insurance policies, medical records, contact lists, and evacuation plans are all in one place.
Supports communication: Emergency contacts and meeting points are clearly listed, helping families stay connected.
Reduces stress: Knowing you have a plan and resources ready can ease anxiety during chaotic situations.
Helps responders: Clear documentation can assist emergency personnel or neighbors in understanding your needs.
Without a binder, you risk losing critical papers or forgetting key details when you need them most.
What to Include in Your Emergency Preparedness Binder
A good binder covers all essential areas related to your safety, health, and communication. Here are the main categories to include:
Personal Information
Full names, birthdates, and photos of all household members
Emergency contacts: family, friends, neighbors, doctors
Medical information: allergies, medications, chronic conditions, blood type
Important Documents
Copies of identification: driver’s licenses, passports, social security cards
Insurance policies: health, home, auto
Property documents: deeds, rental agreements, vehicle titles
Financial information: bank accounts, credit cards, emergency cash instructions
Emergency Plans
Evacuation routes and meeting places
Local emergency shelters and resources
Pet care plans and contacts
Special needs accommodations if applicable
Communication Tools
Phone numbers for local emergency services: fire, police, hospitals
Utility company contacts for gas, water, electricity
School and workplace emergency contacts
Supplies Checklist
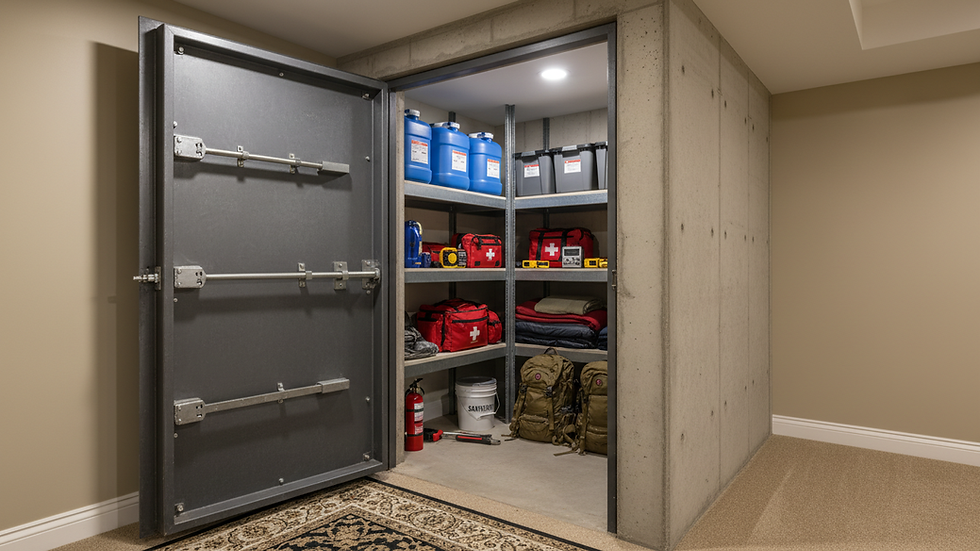
List of emergency supplies: food, water, first aid kit, flashlights, batteries
Maintenance schedule for supplies and equipment
How to Build Your Emergency Preparedness Binder
Creating your binder does not have to be overwhelming. Follow these steps to build a practical and easy-to-use resource.
Step 1: Choose the Right Binder and Materials
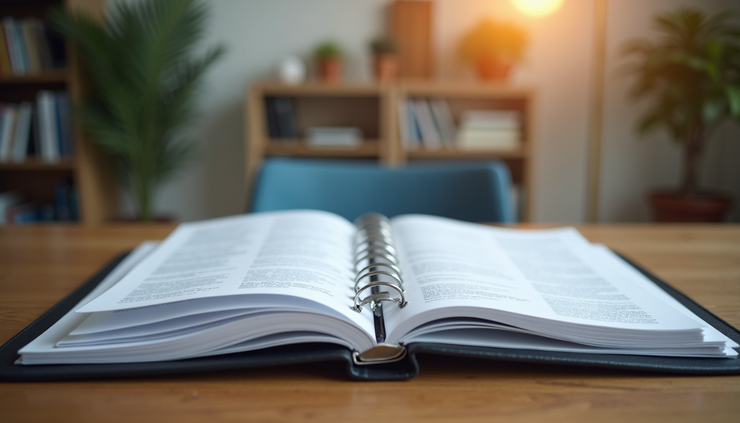
Select a sturdy, water-resistant binder that can withstand handling during emergencies. Use clear plastic sleeves or folders to protect documents from spills or damage. Include dividers to separate sections clearly.
Step 2: Gather and Organize Documents
Collect all necessary papers and digital files. Print copies of important digital documents to include in the binder. Organize them by category using dividers or tabs for quick access.
Step 3: Fill Out Emergency Forms and Lists
Complete any forms such as medical information sheets or emergency contact lists. Keep these updated regularly, especially if contact information or health conditions change.
Step 4: Create Your Emergency Plans
Write down evacuation routes, meeting points, and any special instructions for your household. Include maps or diagrams if helpful.
Step 5: Add Checklists and Maintenance Reminders
Include checklists for emergency supplies and reminders to update or replace items periodically. This keeps your binder current and useful.
Step 6: Store Your Binder in an Accessible Location
Keep the binder in a place known to all household members, easy to grab in a hurry. Consider having a digital copy stored securely online or on a USB drive as a backup.
Tips for Using Your Emergency Preparedness Binder
Review and update the binder every six months or after major life changes.
Share the binder’s location and contents with trusted family members or friends.
Practice your emergency plans regularly with your household.
Customize the binder to fit your specific needs, such as including language translations or disability accommodations.
Free Template to Start Your Binder
To make building your emergency preparedness binder easier, a free template is available. It includes pre-designed sections for all the categories mentioned above. Simply download, print, and fill in your information. This template saves time and ensures you don’t miss critical details.
Building an emergency preparedness binder is a practical step that can protect your family and reduce stress during unexpected events. By organizing vital information and plans in one place, you create a reliable resource that supports quick action and clear communication. Use the free template to start your binder today and take control of your emergency readiness.


Comments